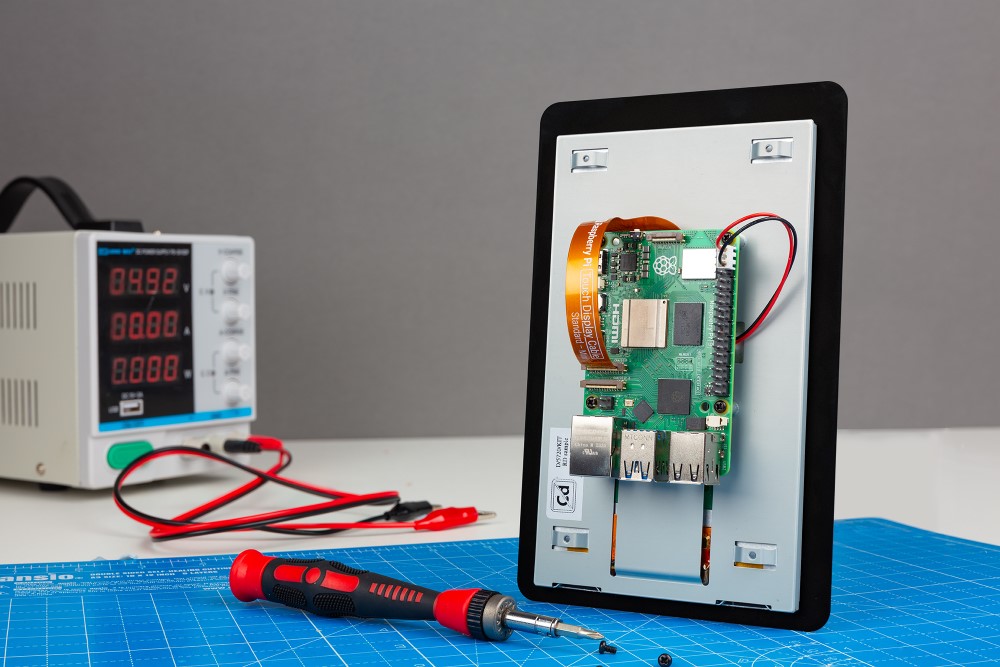
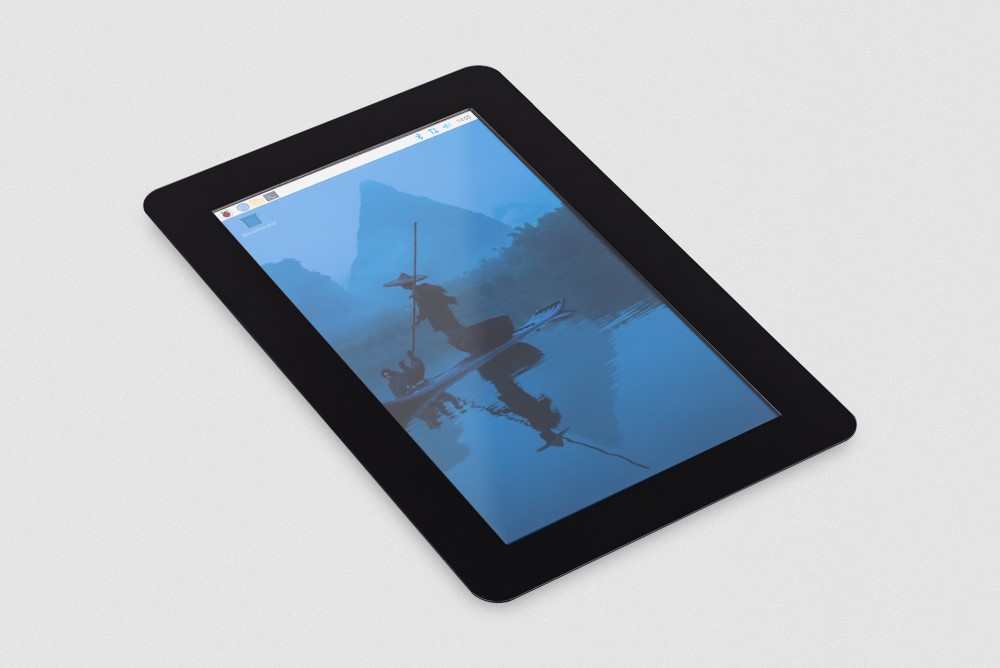
The Cambridge Cartel (someone thought I was being serious the last time I used that so I’m going to keep using it) has just unveiled its Raspberry Pi Touch Display 2, a 7-inch touchscreen that brings some interesting upgrades to its display lineup. The most notable change? They’ve gone portrait mode this time around with a 720 x 1280 resolution display, which means you can now view HD content without it being a little bit sad.

Table of Contents
Raspberry Pi Touch Display 2 Specifications
| Size | 189.32mm × 120.24mm |
| Display Size | 7 inches |
| Display Format / Resolution | 720 (RGB) × 1280 pixels |
| Active Area | 88mm × 155mm |
| LCD Type | TFT – Normally White – Transmissive |
| Touch Panel | True multi-touch capacitive touch panel (supporting five-finger touch) |
| Surface Treatment | Anti-Glare |
| Colour Configuration | RGB-stripe |
| Backlight Type | LED B/L |
What’s Changed Since the Original Pi Touch Display?
Other than the change from a landscape 800 x 480 resolution to 720 x 1280 in portrait, we also see a slightly different physical footprint, going from 192.96mm x 110.76mm to 189.32mm x 120.24mm. It’s not a major change, but if you’ve made enclosures or integrated the 1st generation touch display into a project, be aware that you may need to rework things to fit the new model.
Perhaps more interesting (in a good way, in my opinion) is that we’ve lost the adapter board from the back of the original display. The first-gen Touch Display required this board for power and signal conversion, whereas the Touch Display 2 seems to have integrated this functionality, or at least hidden it within the housing itself which is a nice touch (hehe). We’ve also apparently lost some touch input capability, down to 5 points from the original’s 10, though I’d imagine most users weren’t making full use of all 10 touch points anyway. So in reality, a 5-point touch should be more than enough for most of the Touch Display 2’s use cases.
Initial Thoughts
I don’t own the original version of the touch display, so I’m only going on what I can see from other reviews and the product briefs but from what I can see, the changes are largely positive
Setup looks to be relatively straightforward, with just two connections needed – power from the GPIO headers and a ribbon cable to the DSI port.
It’s a bit disappointing (though completely understandable given they lack DSI connections) that it won’t work with the Pi Zero lineup. I’ve got Pi Zeros coming out of my ears and I’ve been nagged for a while now to get some kind of interactive calendar/meal plan list up in the kitchen. I guess I may need to pull out my Pi 4 from its recent retirement. Sorry, little guy.

As with the original, Raspberry Pi OS includes the relevant drivers out of the box along with an on-screen keyboard. This means you can technically use your Pi without the need for additional input devices, which is nice for things like smart home control panels (I can see a nice Home Assistant dashboard working well here!)
I also saw a cool project from Adafruit that integrated a touch display into a case with a battery, creating your own Raspberry Pi Tablet, though given the slight size changes on the Raspberry Pi Touch Display 2, the 3D model may need some tweaking to fit.
Raspberry Pi Touch Display 2 Pricing
Raspberry Pi has given us a list price of $60 for the Raspberry Pi Touch Display 2, which seems about right when compared to near-identical specs on the market from the usual 3rd party accessory suspects. Whether or not we’ll see similar price fluctuations as we did with the microSD cards, I’m not sure. Resellers seem to have fairly uniform pricing on the original, so it should be similar here.
You can find a list of resellers on the Raspberry Pi Touch Display 2 product page – selecting your country towards the bottom will show those closest to you, though it may take a little while for some regions to get stock.
Adding taxes and shipping, pricing doesn’t seem too bad for what it is. I can see it being useful for many people in different situations.
Rounding Things Off
Well, I’ve got a unit on its way, but as displays aren’t really my forte when it comes to reviews, I’ll likely focus more on documenting the setup process when I get a chance. Is there something that you’d like to know about it though? I’m willing to put together a video showing it off, so if you want something beyond a quick installation walkthrough then let your wishes be known in the comments. I promise to read, and possibly act on them unless they’re mean, then I won’t.
4 comments
Is Touch Display 2 going to replace version 1 or are they going to coexist? Changing the design of a case is not that straight forward…
The product page for the original states that it will be in production until 2028, so it looks like they’ll be coexisting for a few years yet!
Potentially more useful is the 4 way USB3 hub that RPi has just brought out
Hah, I’d personally have more uses for it than the screen, that’s for sure!