The Compute Module 5 is still being sent around the world but Raspberry Pi aren’t slowing down as we head into the Christmas period with the launch of the Raspberry Pi 500.
It’s the latest iteration of the “Pi in a Keyboard” from the company, which will build on the previous Pi 400 (based on the Raspberry Pi 4) with the more powerful BCM2712 SoC. Given the size of the cooling plate/heatsink in the Pi 400, I’m very curious to see how the Pi 500 is handling that, so let’s get to it.
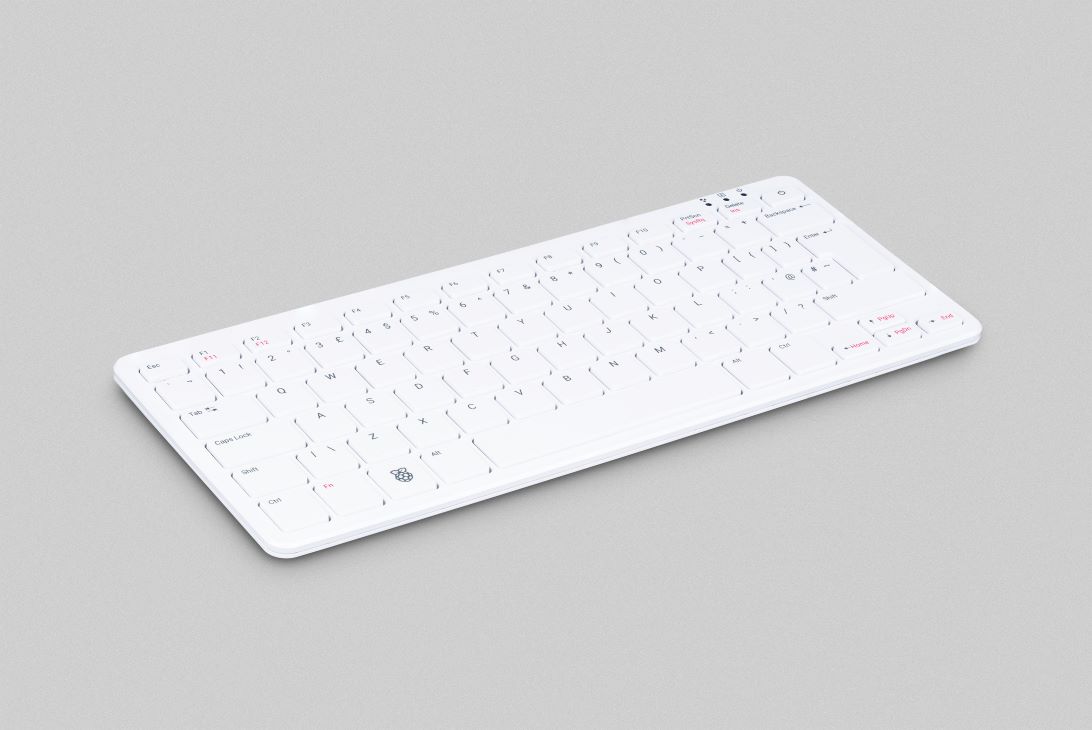
A quick note, however. Raspberry Pi kindly sent over the Pi 500 to take a look at but there was no obligation to create anything, and they’ve had no editorial input!
Table of Contents
Raspberry Pi 500 Specifications

Raspberry Pi 500
Technical Specifications vs Pi 400
| Pi 500 | Pi 400 | |
|---|---|---|
|
Form Factor
|
286 mm × 122 mm × 23 mm | 286 mm × 122 mm × 23 mm |
|
Processor
|
Broadcom BCM2712 Quad-Core Cortex-A76 @ 2.4GHz | Broadcom BCM2711 Quad-Core Cortex-A72 @ 1.8GHz |
|
Memory
|
8GB LPDDR4X | 4GB LPDDR4 |
|
Connectivity
|
|
|
|
Video
|
|
|
|
Multimedia
|
|
|
|
Power
|
5V (up to 5A with USB-PD) via USB-C | 5V via USB-C |
| Extras | Power Button | Power Button |
| Pi 500 | Pi 400 |
|---|---|
|
Form Factor
|
|
| 286 mm × 122 mm × 23 mm | 286 mm × 122 mm × 23 mm |
|
Processor
|
|
| Broadcom BCM2712 Quad-Core Cortex-A76 @ 2.4GHz | Broadcom BCM2711 Quad-Core Cortex-A72 @ 1.8GHz |
|
Memory
|
|
| 8GB LPDDR4X | 4GB LPDDR4 |
|
Connectivity
|
|
|
|
|
Video
|
|
|
|
|
Multimedia
|
|
|
|
|
Power
|
|
| 5V (up to 5A with USB-PD) via USB-C | 5V via USB-C |
|
Extras
|
|
| Power Button | Power Button |
The obvious change between the 2 is the bump from 4GB to 8GB of RAM, and one that is very welcome (If you’re wondering how the Pi 5 SoC performs compared to other options on the market, my comprehensive Raspberry Pi 5 Review). Other than that, the SoC is running at 2.4GHz which I think was largely to be expected. The Pi 400’s BCM2711 was a slightly different stepping to the one found in the Raspberry Pi 4 and it was clocked 300MHz faster. Given the additional power and heat in the BCM2712, I think we’ll all be fine with it being the same 2.4GHz as the Pi 5.
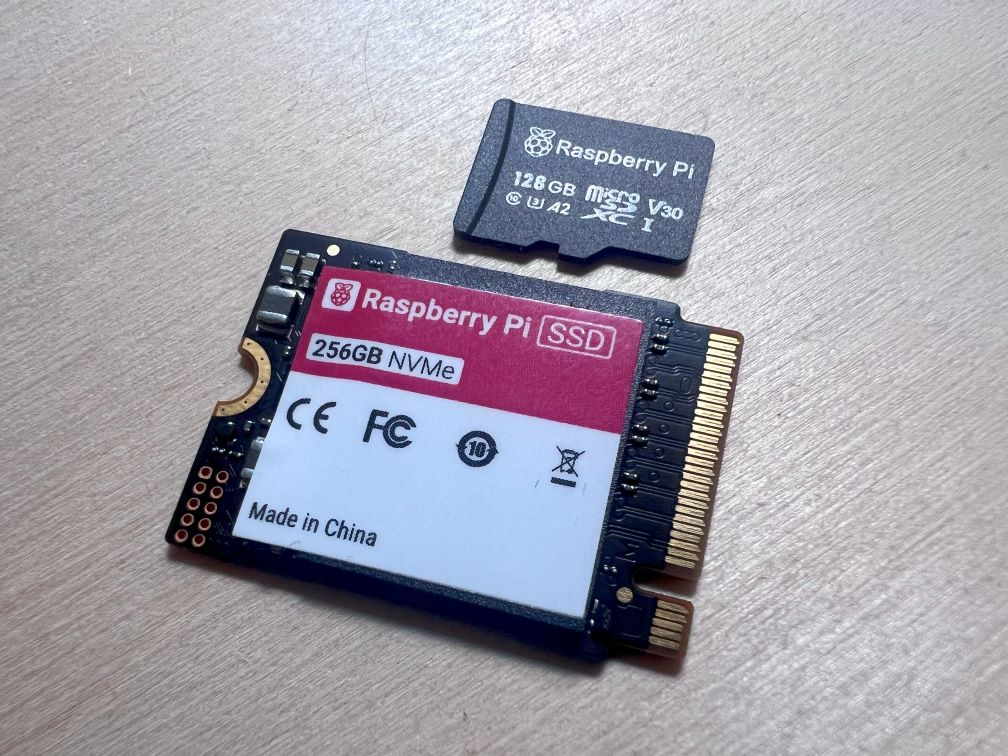
What may also be obvious, and disappointing to people with this release is the fact that it’s relying on microSD card storage as its sole storage option. With the PCIe lane available to the device via the RP1 on the Pi5, and M.2 on the CM5 IO Board, I think many will be disheartened to see that there’s no M.2 option for storage on the Pi 500. I’m really hoping that there’ll be another model with that in the future, though it would have been better to include it on all of them by default in my opinion (foreshadowing).
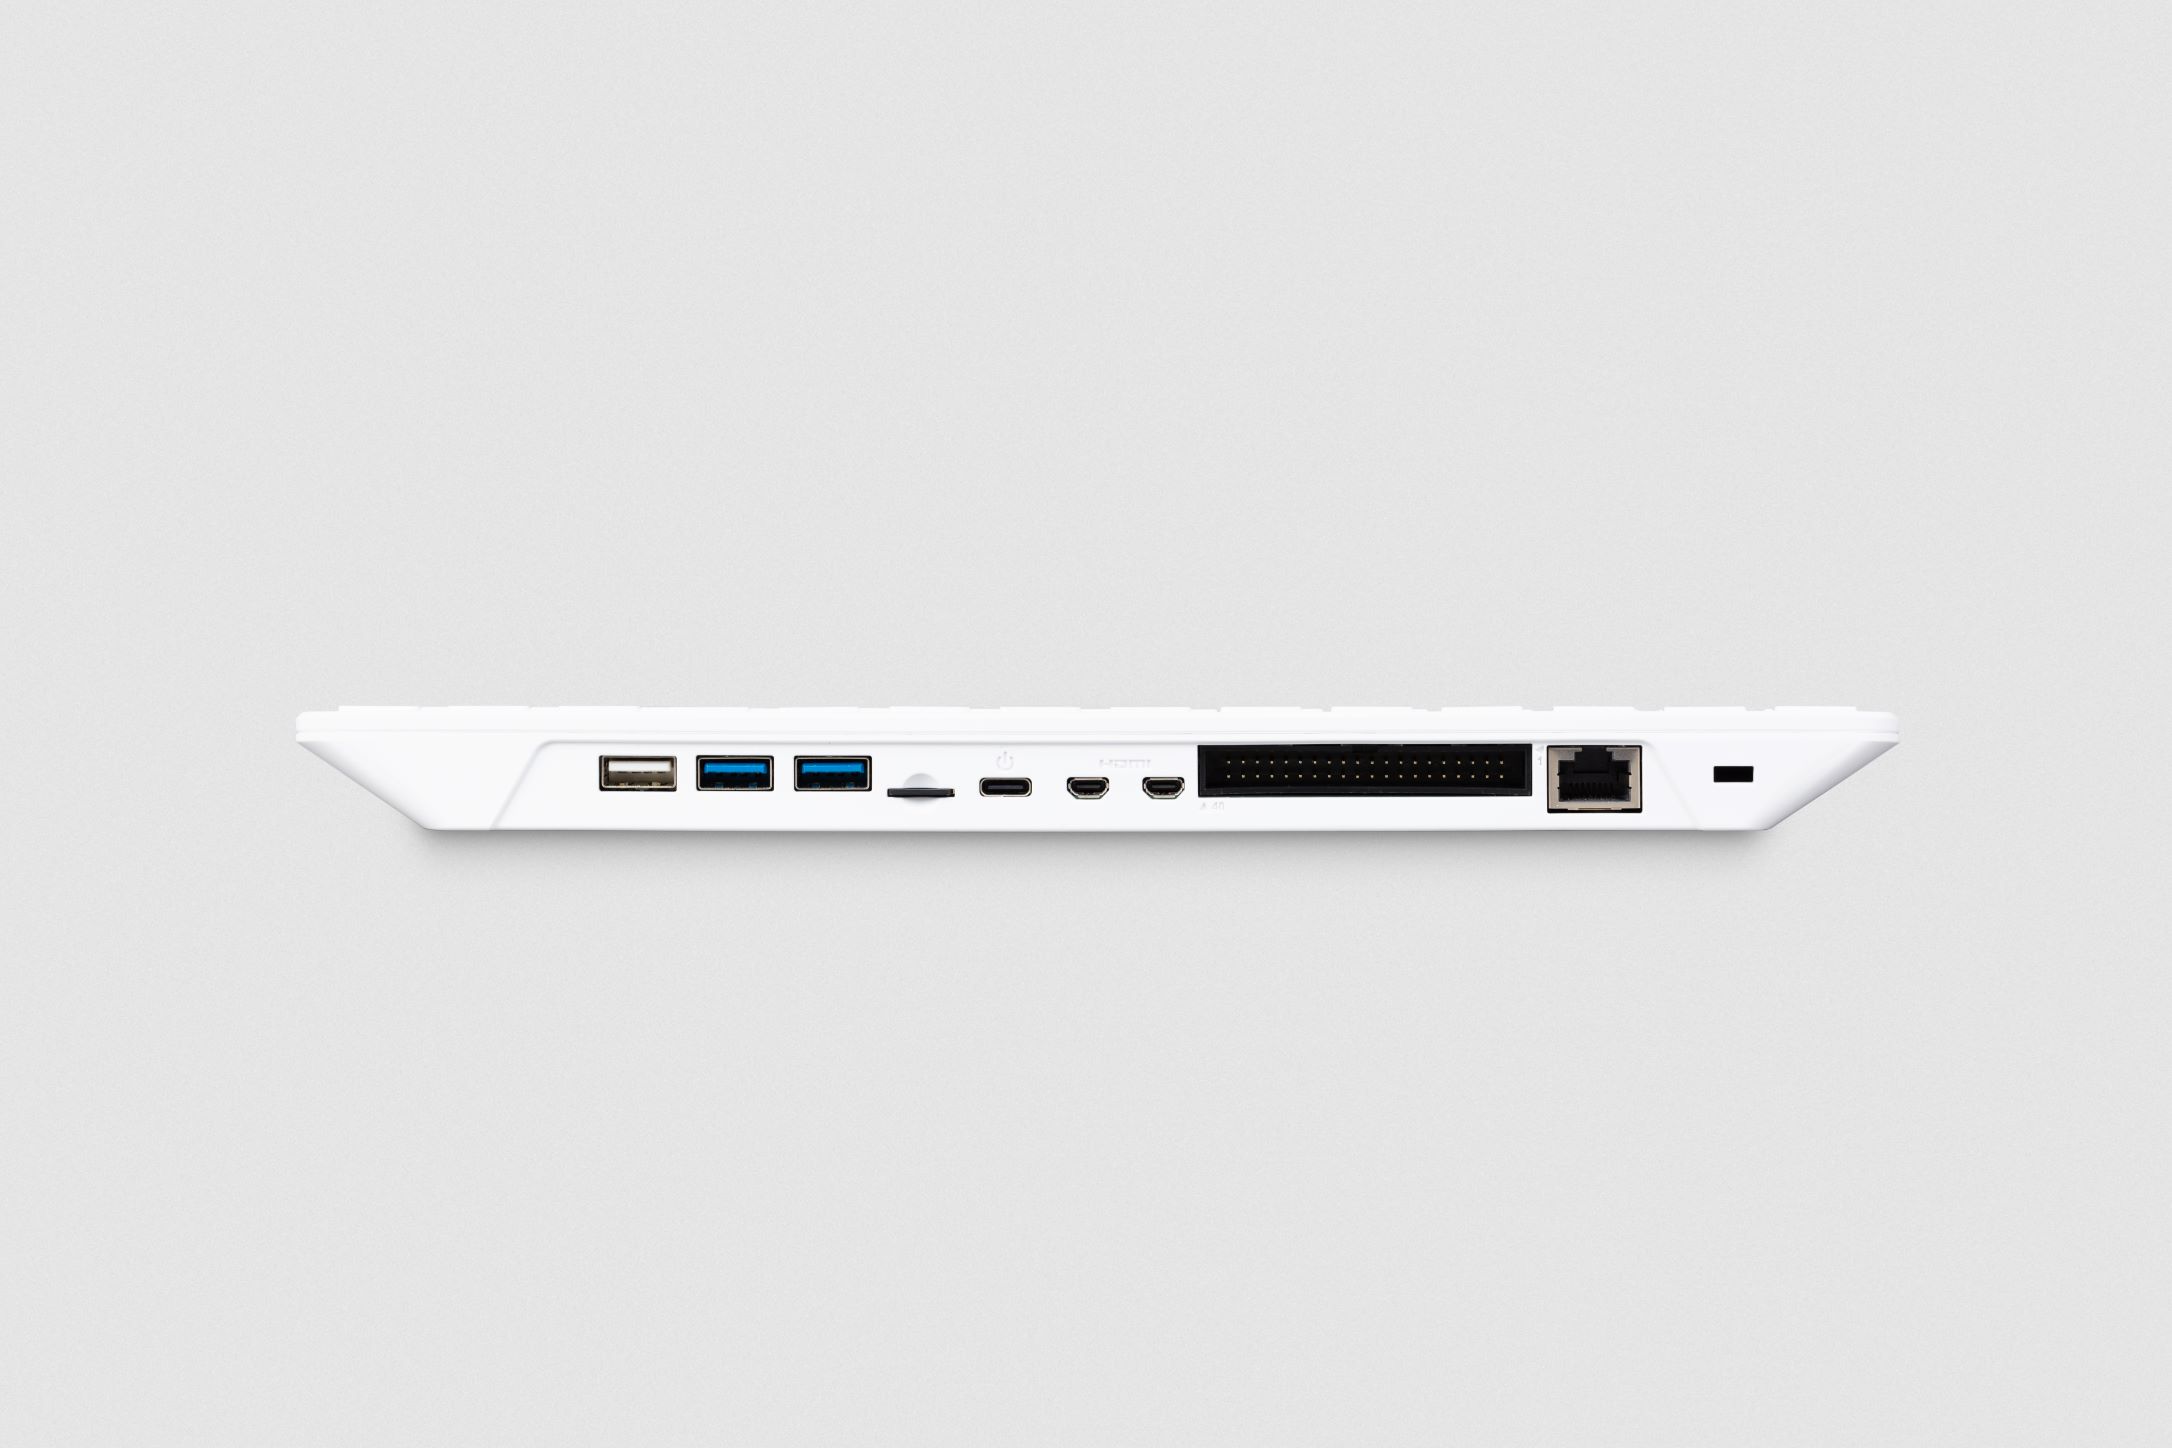
Those wondering about the 3 USB-A ports should be aware that the 4th USB 2.0 port that you’d find on a Pi 5 has been taken to route the keyboard internally.
Finally, we still have no audio, which is a bit of a shame. It would have been nice to have a 3.5mm audio jack, though if you have a USB soundcard/headset, you can utilise one of the ports there, or use the HDMI audio through your monitor speakers if you have some.
What’s in the Box
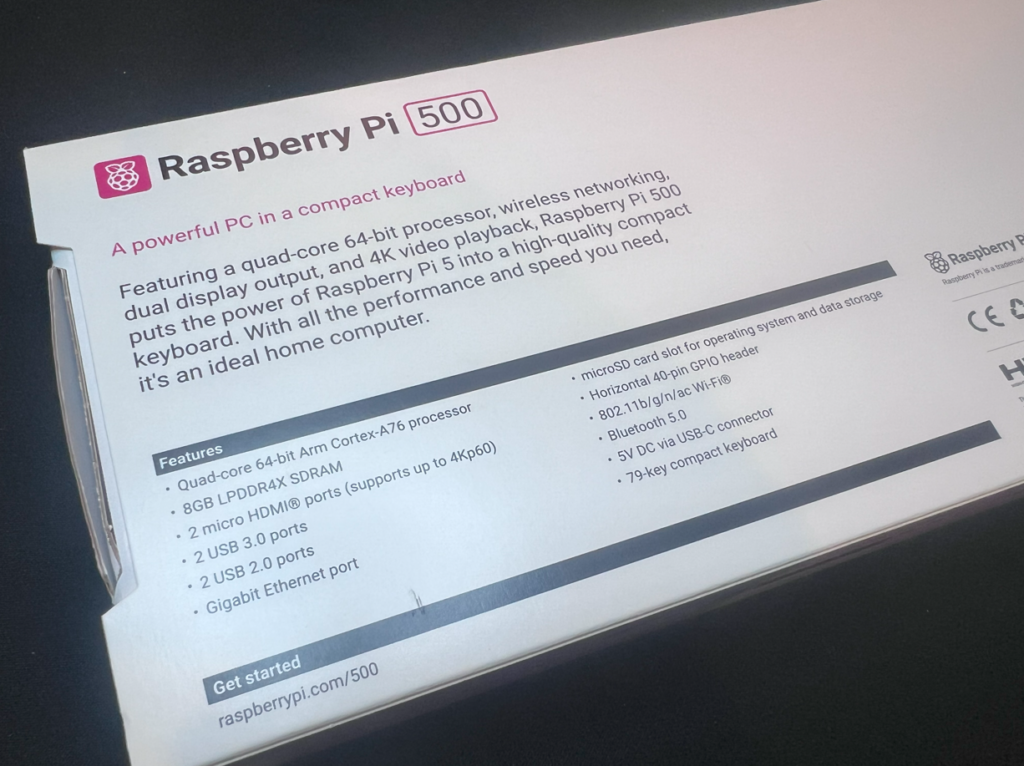
The Raspberry Pi 500 will ship with 2 options available to users. You’ll either have the Pi 500 on its own or the Pi 500 Desktop Kit. Both of them come with a 32GB Raspberry Pi microSD Card pre-loaded with Raspberry Pi OS. For comparison, the Pi 400 shipped with a 16GB card.
Raspberry Pi 500 Standalone – $90 RRP
- Raspberry Pi 500 (8GB RAM)
- 32GB Raspberry Pi microSD Card (Pre-loaded with Raspberry Pi OS)
Raspberry Pi 500 Desktop Kit – $120 RRP
- Raspberry Pi 500 (8GB RAM)
- 32GB Raspberry Pi microSD Card (Pre-loaded with Raspberry Pi OS)
- Raspberry Pi Mouse
- Raspberry Pi 27W 5.1V/5A USB-C Power Supply
- 2m micro HDMI to HDMI Cable
- Raspberry Pi Beginner’s Guide
The inclusion of a pre-loaded microSD card is nice but as my testing previously showed, the bump in performance when going from their 32 to 64GB cards is quite significant and it would have been a good move to include one of those instead considering the lack of M.2 NVMe options. Unless they think users won’t tell the difference? Given these are largely aimed at desktop use, I think it’s a bit of a missed opportunity and I’ll touch on the improvements available again later on.
A $30 difference in pricing between the 2 options doesn’t seem egregious here. The 27W PSU makes up a good chunk of that, and the others are nice to have if you don’t already have them. If you’re picking it up as a present for Christmas (incredible timing for this launch, eh?) then it may be a good option so that everything is there, along with the getting started guide.
Design & Build Quality
Moving on to how it feels to actually use, the typing experience is fine, though I think my view of this is skewed after using larger, mechanical keyboards for a loooooong time at this point so I don’t know if I’m the best to pass judgement on this. After using it for 10 minutes or so I did get used to the spacing of the keys and the feel.
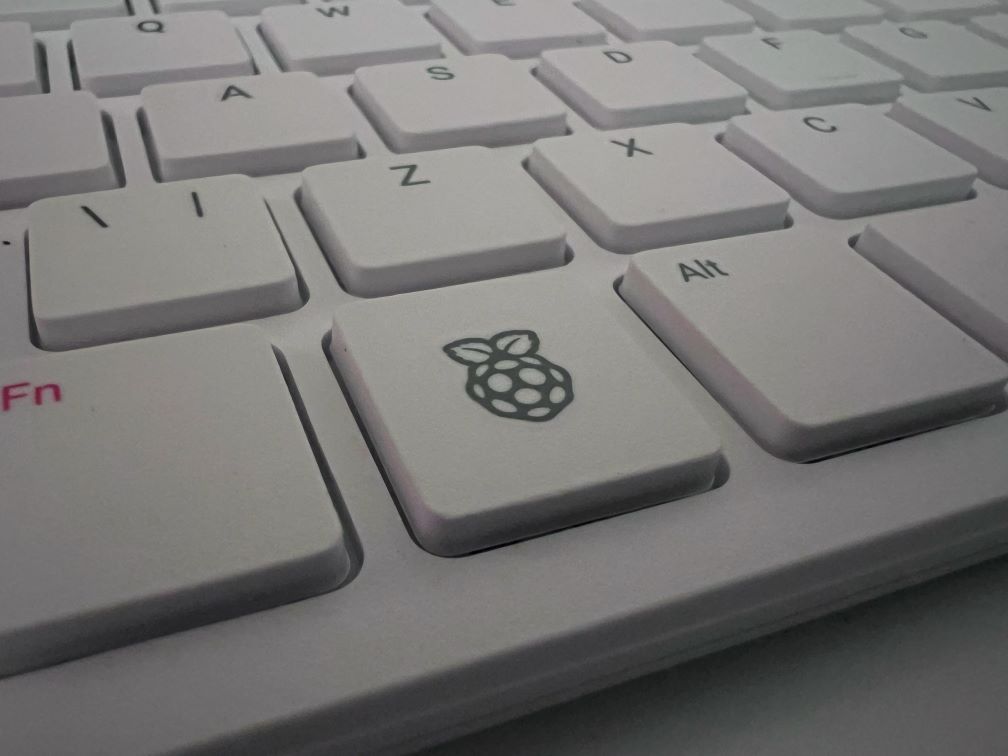
The keys themselves feel nice, though, they don’t wobble if you press them at the edges and they feel responsive.
The ports on the back are well-spaced and by default, there’s a soft cover over the GPIO pins to stop you from being stabbed by the headers.
A small thing to note is that the Pi 500 is an all-white unit, there are no red panels in sight and I think it actually looks better like this. I don’t know why exactly, but the white and red combo didn’t quite do it for me. The box does specifically mention “White” though so who knows, maybe there’ll be another variant?
When looking at the Pi 400 and 500 next to each other though, the white 500 looks like a more premium unit just on the back of the colour choices. You also get non-slip feet on both the top and bottom of the unit. The Pi 400 only had these at the top.
In terms of the actual build quality, it feels solid. We’ll be opening it up and taking a look under the hood later but there’s not a great deal of flex in the chassis (which is promising considering there’s a valuable PCB in there). Plugging in peripherals and cables is straightforward, with no movement from either the housing or the board inside. Everything is nice and snug, as it should be.
What Isn’t Inside the Raspberry Pi 500.. Kind of..
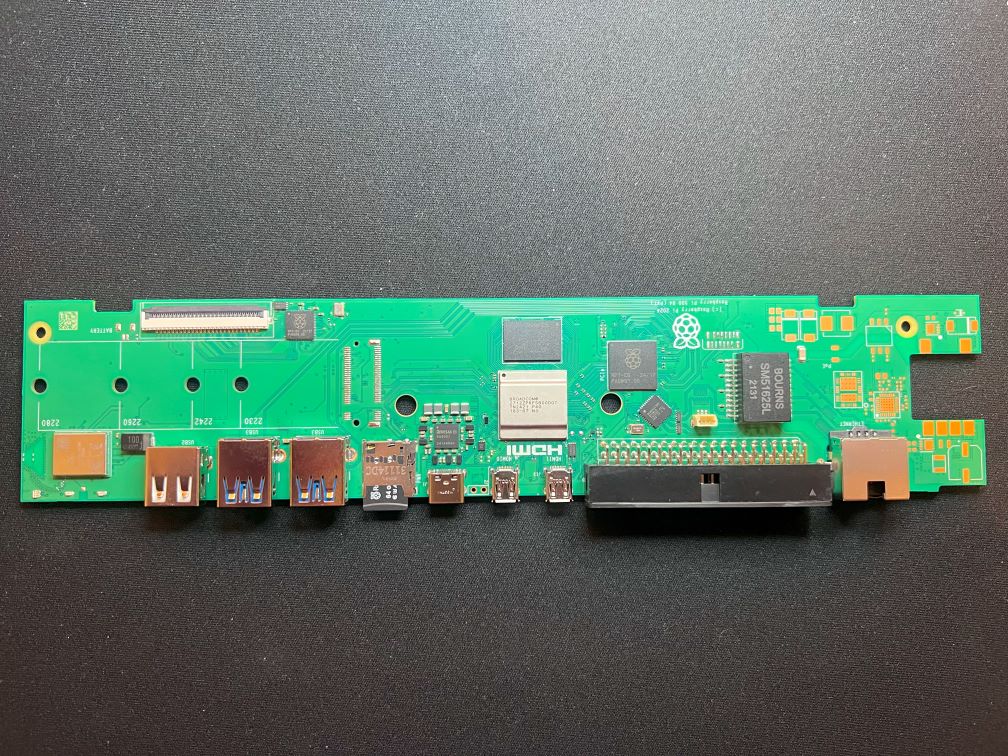
I felt like I needed to have a separate section for this because when I mentioned further up it was disappointing that there was no M.2 NVMe option, I got a little more disappointed during the teardown. See, I got the enclosure open and I was immediately greeted with the below view.

I genuinely let out an “Oh damn!” when I first saw this because look at it, it’s an M.2 slot for up to 2280-sized devices, right?

Well, it would be if Raspberry Pi had actually soldered an M.2 connector (and the mounting posts) to the PCB.. It would seem that rather than allowing everyone to decide whether or not they want to have an M.2 device in their Pi 500, Raspberry Pi have taken it upon themselves to just not give you the option, despite it being right there.
One can only assume that this is so that they can offer a version with the M.2 connection and the Raspberry Pi NVMe drives bundled in a single product in the future. I understand why they’re doing it, but it’s also a tad frustrating and I don’t envisage it going down too well. Sure you want to boost sales of as many SKUs as possible but come onnnnnn :(
Just to quickly update (09:12CET 09/12/24) after reading Les’ review on tomshardware, apparently this was a trade-off between cost and compatibility, and it was noted that the case is cumbersome to open so repeatedly replacing the NVMe may cause damage to the unit. I mean, sure? Maybe? I think that just cements the fact that there’ll be another SKU of this with a pre-installed NVMe drive in the future!
Inside the Raspberry Pi 500
That aside, let’s get the rest of the unit open and see what’s hiding for us underneath! There are no screws to aid in getting into the chassis, instead, it uses clips to secure everything in place so we’re going to need to be a little careful. If the GPIO headers don’t get you, your blunt chassis opening implement of choice might.

If we go for a close-up, we can see that the keyboard itself is being handled by an RP2040 microcontroller.

Then we have the PCB in its entirety. Not having looked at the Pi 400 myself previously made this quite an interesting experience. It would be somewhat interesting to see if someone could make a nice enclosure for the boards in this form and have them in a dense cluster setup, hmm.
Raspberry Pi 500 Testing & Benchmarks
This section will be a little different to my usual reviews, as I didn’t have a Pi 400 in time to do a side-by-side performance comparison, but ultimately I don’t think it’s the end of the world. If you want a deeper look into the Pi 400, I’ll defer to Jeff’s post which has lots of information and links to videos that cover most bits you’ll need!

In light of that, I’ll only be sharing key benchmark data for tests that I think are relevant to the Pi 500 form factor and its usage only. I did run my usual set of benchmarks and they were all within a margin of error to the Pi 5/CM5 so if you’re interested in seeing a wide range of CPU benchmarks, you can see my Raspberry Pi 5 Review, and my Raspberry Pi CM5 Review for those.
Temperatures & Power Consumption
I’ve put this section further up in the review than I usually would, purely since this is something that you’re going to be having your hands resting on and unless you want to re-live the Intel Macbook glory days, a cool Pi 500 is going to be a much nicer experience across the board.

I wasn’t able to get the Pi 500 to thermally throttle at any point in my testing, even with the performance governor turned on. The passive “heatsink” they have in there is really putting in a shift and under 25 degrees Celsius ambient temperatures, the most I was seeing was around 67c after 30 minutes of full synthetic load with stress-ng.

I did intend to share some thermal camera photos but for some reason they were terrible, I think I may need to invest in something a little better going forward.. The surface temperatures of the Pi 500 didn’t go above 33c during that time though, so you’re going to be safe. It will feel ever so slightly warm, but not uncomfortable.
Power consumption is reasonable given the components involved, and again, this was with the performance governor enabled so your temperatures will be slightly lower. Well, providing your ambient temperature is also 25 degrees Celsius
WiFi Performance
We shouldn’t be expecting anything crazy on this front, it’s the same WiFi/BT chip that’s found in many iterations of Raspberry Pis, though we’re now shoving it in a plastic enclosure with a large piece of metal across it. Given that there’s no external antenna options, it’s worth checking how it compares to the Pi 5.

Using 5GHz WiFi, I was able to get a decent speed out of the Pi 500, though this was with my usual Ubiquiti U6-LR access point located just a metre or so away with a direct line of sight, so your mileage will most definitely vary. It’s definitely usable in nearly all situations, though, and in a small home setting, you’re unlikely to have issues unless you’re a considerable distance away.
Storage Performance
A rather short section to finish off the performance testing portion of the review sadly, as the Pi 500 only has a microSD card slot available for native storage. Yes, you can boot over USB and make use of the 5Gbps USB3 port(s) on the Pi but then you start to lose the point of the device. It’s supposed to be compact and an all-in-one (ish) device. If you want to use USB, both SATA and M.2 NVMe SSDs will give you a considerable speed boost.
Raspberry Pi recently introduced the option to have command queuing enabled on your OS for microSD card performance boosts. By default this is currently disabled, so I did my testing with that.
I was curious about how much of a boost using one of the higher-capacity Raspberry Pi microSD cards gives. In my previous testing, it was substantial, and again in the Pi 500, we see the same. The price difference at resellers can be as low as $2, so for Raspberry Pi themselves that will be even lower. I’m beating a dead horse here but given the random read/write bump you get going from 32 to 64GB, it feels like an oversight, both in performance and capacity areas.

As you can see, the 64GB card offers over 3x the performance on sequential writes, and close to 3x on random writes. Couple that with a nearly 50% increase in random write speeds (at this 4k blocksize) it does seem a worthwhile upgrade. On larger block sizes, it does max out at around 90MB/s.
Daily Usage Experience
I’m heading out of my comfort zone a little here, as it’s not something I usually test or worry about when I’m writing these reviews, but as this is meant to be a desktop device, I thought I’d have a quick look through everything!
Boot times are relatively quick, going from pressing the power button to being on a usable desktop in 20.93 seconds, and the overall performance is decent. The Raspberry Pi OS image gives you enough pre-installed software to get up and running quickly,

YouTube works fine at 1080p, 4K was a little choppier, but I’m not sure you’d really be pairing one of these with a 4K screen unless it was a TV and in that case it will be fine in most cases but you may just want to keep an eye on it.
USB ports all performed as expected, I won’t bore you with graphs on those, and if you really wanted to do it, dual displays are fine too. Again, for anything more than basic desktop use, you’re probably going to want a different device but for basic use, go nuts.
Pricing & Availability
As I touched on above, the Raspberry Pi 500 will ship in 2 “configurations”, either a standalone Pi 500 unit, or as part of a desktop kit containing everything you need to get up and running.
The desktop kit comes in at $120, $50 more than the $70 standalone Pi 500, but $20 more than the Pi 400’s desktop kit on launch. Seeing as that was 4+ years ago now and everything that’s happened in the economy since then, it’s not a crazy price increase. You are also getting a bigger, better microSD card, and a more powerful PSU for the money.
Raspberry Pi state that the US and UK keyboard configurations are the ones that will be available initially, with Nordic, German, Spanish, French, Italian, and Japanese versions coming in the next couple of months. That will come as a bummer to those wanting a localised keyboard ahead of Christmas, but this seems to be the path that Raspberry Pi are taking these days with their product launches and it is a little disappointing.
You can pick up a Pi 500 from your local Raspberry Pi reseller soon, though we’re likely to see the UK (in places like The Pi Hut) have stock first, with it trickling out to others later on. Unfortunately, that’s likely to be after Christmas if other releases are anything to go by. Here in Sweden, we’re not getting most of the CM5 ecosystem until mid-December, and that was released over 2 weeks ago already.
Conclusion
If you’ve made it this far, I salute you, it hasn’t been my usual type of review. That said, the Raspberry Pi 500 has been an interesting one to take a look at. I’d never really had a need for something like this and I was curious who they were actually for. There had to be demand, however, as Raspberry Pi keep making them, and competitors release their own versions.
Having just collected the keys for my new office/studio space, I can definitely see myself putting this somewhere for easy access to a compact computer. With the new Raspberry Pi 15.6″ Monitor it could be nice to throw on the workbench.
My initial concerns about thermals didn’t materialise, and even under full load in multiple tests, the temperatures were kept under control. That giant slab of metal is doing its job, how lovely.
If we also consider the value here, we’re getting an 8GB Raspberry Pi 5 and a Keyboard for $90 whereas the 8GB Raspberry Pi 5 retails for $80. For an additional $10 you’re receiving an all-in-one, purpose-built unit. That said, depending on your use case, you need to weigh up your options. If you need high-speed NVMe storage and that’s more important to you than having your Pi in a keyboard, a Pi 5 and a cheap keyboard may be a better option.
The questionable NVMe situation in this model leaves a sour taste in my mouth, though maybe I’m overreacting a little because I was initially so excited to see it before having my dreams crushed. It can’t just be me who finds it a bit annoying that it’s all there but they just choose not to solder the connector(s) to differentiate it from a future model.
All in all, it’s an interesting product and I’m definitely more receptive to the concept of a computer in a keyboard now. I don’t think I have any full-time uses for it myself, but I can certainly see why it may appeal to certain people. Throwing this under a TV, or in a kid’s bedroom for web browsing or LibreOffice documents would work well. I’m still not over the NVMe thing though :'(
5 comments
Is it just the NVME connector missing or also some supporting components. I mean, soldering such a connector isn’t for everyone, but still, if soldering the connector is all it takes to get NVME working. If there is demand, I can even imagine someone soldering connectors and reselling them.
Jeff checked this out in his video posted this morning and there’s actually missing power circuitry for the NVMe on the underside of the PCB too so a connector on top isn’t quite enough sadly :(
Can you not use a USB-NVMe solution?
Raspberry Pi corp did this on purpose. How else are they suppose to rebrand the Raspberry Pi 500 and get you to buy it? Raspberry Pi 500N (NVMe embedded) – $300.
I’m trying to decide if I should get one of these. I’m pretty much just looking for a budget computer for general word processing, web stuff and maybe the odd video. I’m not a coder so that’s not a consideration. Would this work me do you think?
It would probably work, though you’d likely have a better all-round experience with an Intel N100-based mini PC unless you really just want a Raspberry Pi? I guess it also depends how heavy you’re going to hit it and what kind of quality of video you’re looking to watch. The 500 ships with the 32GB microSD, though the 64/128GB version have much better performance so if you do go down the Pi 500 route, I’d at least recommend picking up one of the larger microSD cards for performance reasons! RPi have been doing a lot to make the desktop experience better recently so maybe I have old thoughts stuck in my head and I’m wrong. If you’re happy to play around, the 500 will likely be fine. If you want something quick and easy, an N100 machine would likely be better, albeit not an almost-all-in-one device!