Whilst the Raspberry Pi 4 doesn’t consume a lot of power, if you’re running more than Pi-Hole then you’re likely going to need some form of cooling. Is the Dickson Industries SQ1 passive Raspberry Pi 4 cooler the answer? For those of you that want to hit your Pi hard whilst still having it look good, it could well be.
Dickson Chow from Dickson Industries reached out to me recently to share information on his completely passive Raspberry Pi 4 Cooler, the SQ1 and after taking a look, I didn’t need to be asked twice if I wanted to test it out. With no fans, it opens up opportunities to place your Raspberry Pi in places you may not have considered before due to noise concerns, such as bedrooms or next to your TV.
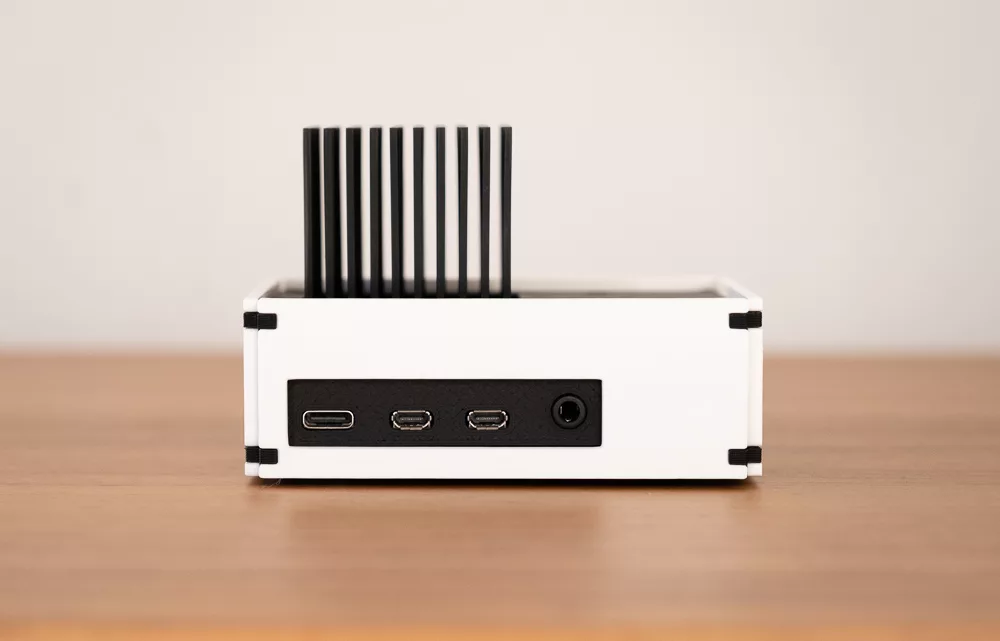
Table of Contents
What’s in the box?
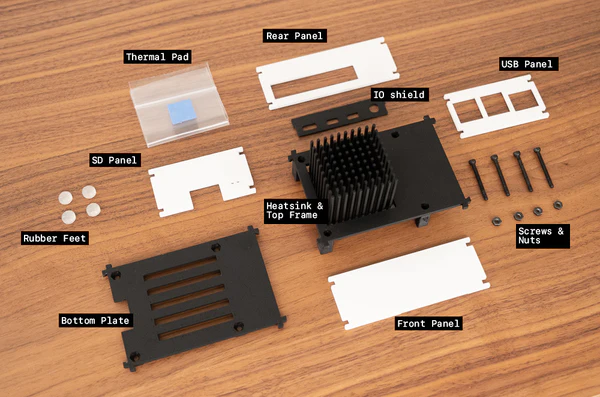
Inside the well-padded, sturdy cardboard box we have the 3D-printed, matte-finished side panels and I/O panel, a thermal pad, the top and bottom pieces (also 3D-printed), and finally, the star of the show, the micro-forged aluminium heatsink.
Ease of Installation
There are no instructions in the box but fortunately for us, we’re covered by an incredibly well-put-together instruction page so I won’t bore you by trying to re-hash it. If you pick one of these up or you’re just curious, go and check it out. The short videos are particularly useful!
The only thing I can nit-pick about during the building process is that on the bottom plate, the nuts don’t get held in by friction so if you put them in and turned it over to install the heatsink/top frame then they’d fall out. I got around this by a bit of trial and error and lined the nuts up on my desk and placed the bottom plate over the top of them so that they were held in place.
Even with that small hurdle, I had this put together within a few minutes. I just had to find something to comment on so you didn’t think I was straight-up shilling. The 4 nuts and screws are the only fiddly steps though as once you have those in place, the side panels snap together and offer a clean and aesthetically pleasing set-up.
First Impressions
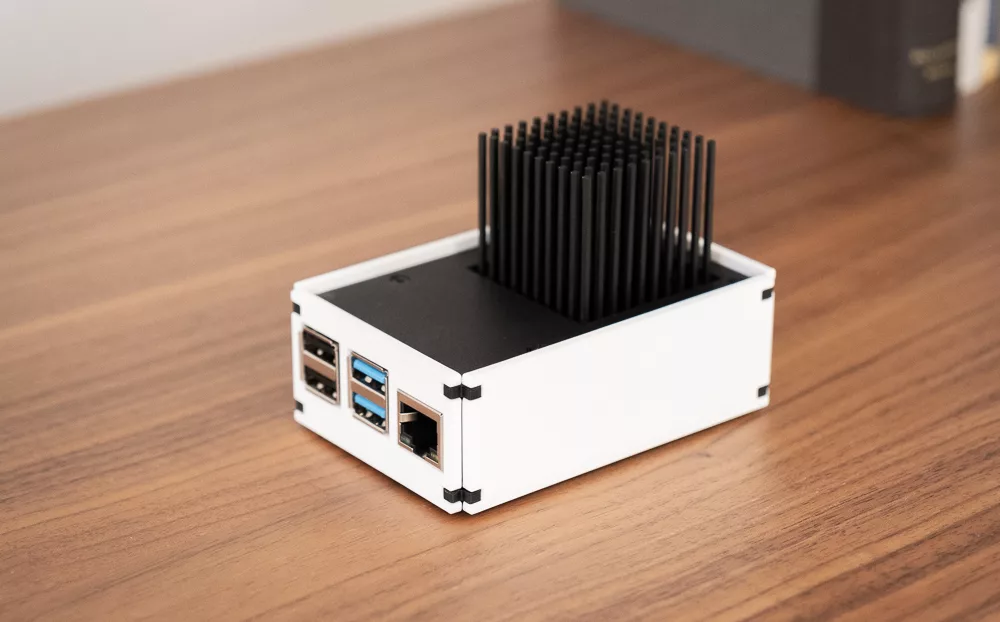
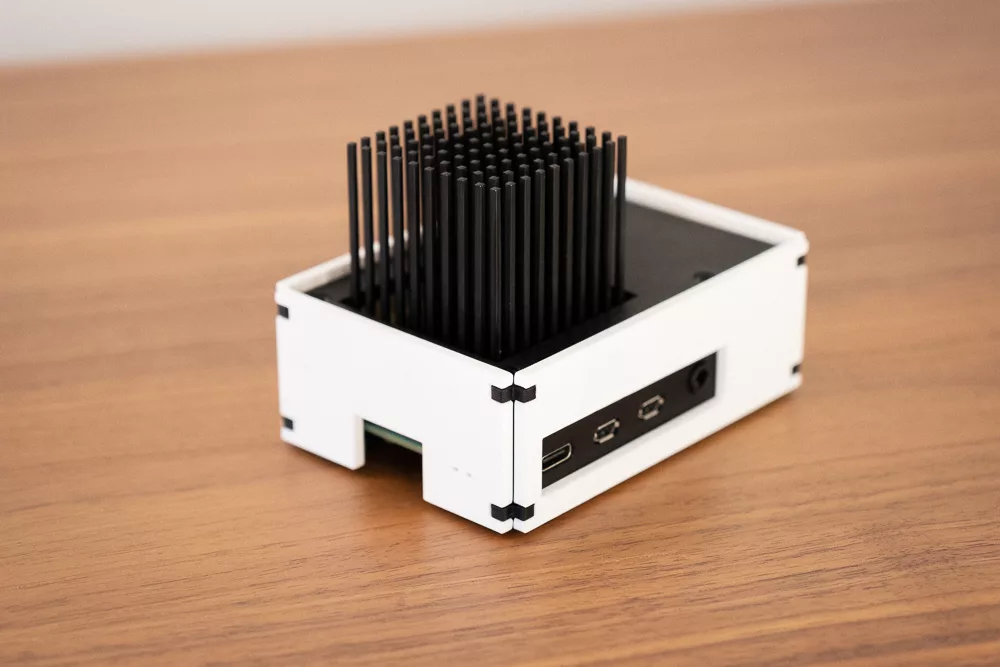
After putting everything together, I have to say that I really like the aesthetic of the SQ1. Whilst you don’t have perfectly smooth, rounded edges, I don’t mind. I like the clip-together nature of it and think it looks great.
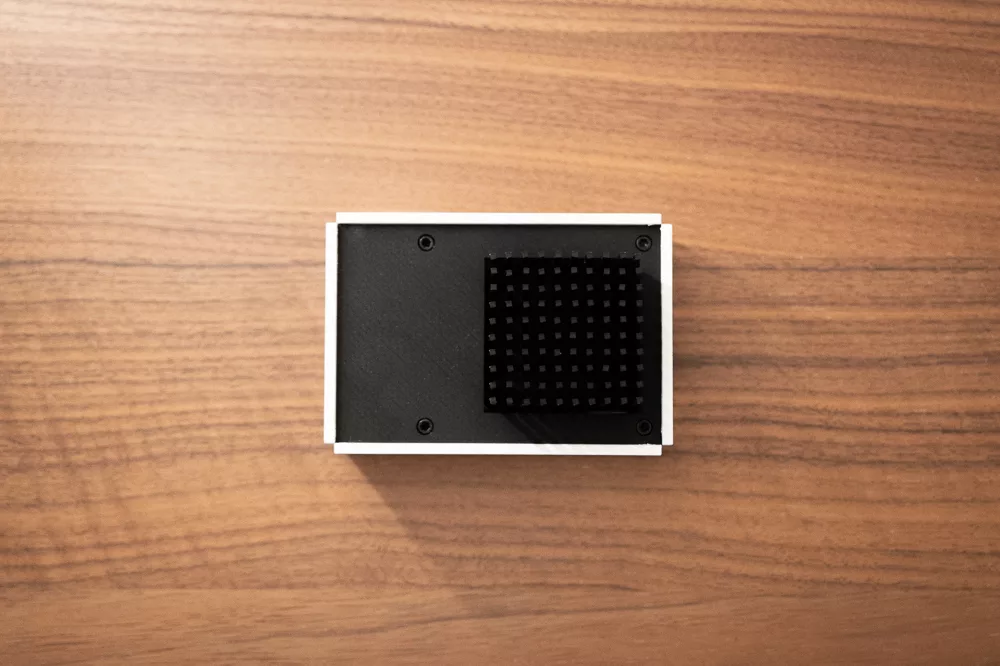
Looks do often come at a cost though, and whilst almost all of the I/O is accessible (USB ports, RJ45 Ethernet, microSD slots etc) you will be missing out on being able to use the GPIO headers, depending on your use case, this may not be the end of the world. There are also 2 small holes cut out so that you can see the power/activity LEDs which is nice.
The 3D-printed parts have no blemishes, the matte finish looks great and I really enjoy how the heatsink sticks out of the case like a bunch of little skyscrapers. It’s a small thing too, but I have to give a high-five for including the little rubber feet. As I say, it’s such a small thing and it could have been overlooked but the quality of life improvement that comes from it is 10/10. No slipping around here.
SQ1 Passive Raspberry Pi 4 Cooler Performance
To test the thermal performance of the SQ1 I put the entire unit together and had it sit on my open testing rack with an ambient temperature of 25.2 degrees Celsius. For the purposes of the below graph and table though, I’ve normalised all data to an ambient temperature of 25 degrees Celsius. The stress-ng tool was once again employed to stress the CPU, with idle temperature readings recorded 30 minutes after booting and the load temperatures after 1 hour of stress testing so that the heatsink had enough time to soak up as much heat as possible and hit equilibrium.
Strapping a lump of aluminium to the Broadcom SoC seems to get the job done, as after installing the SQ1 we see temperatures drop by 19%, from 51c to 42.1c at idle. When you really stress the Pi 4 though, that 19% improvement jumps to 26%, with a drop from 82.7c to 63.5c under full load for an hour.
It may seem a little unfair to include the data from the 52Pi ICE Tower cooler here given that it has a fan strapped to it but I wanted to show you how it compared as I know some of you will be curious, especially with these coolers sharing a price point in most markets. It naturally offers a bigger reduction in temperatures but unless you’re in an incredibly hot climate, the SQ1 gives you plenty of headroom to push things further whilst remaining silent. Room for overclocking anyone? Coming soon..
Pricing & Where to Buy
The $37 USD price tag (on Amazon it’s slightly more expensive at $39.99) for the SQ1 actually seems very reasonable all things considered. The performance is great and there aren’t many higher-end passive Raspberry Pi 4 coolers out there to choose from. You also have the bonus that this is a case and a heatsink/cooler all in one, whereas a lot of coolers are just that, the cooler itself.
Dickson sells the SQ1 both on his own website and via Amazon, though I’d definitely recommend shopping directly from the official store to help support them as a smaller manufacturer. I say this with no bias at all and it has nothing to do with the fact that I want to see more creations come out of his lab and that seems like the quickest way to be able to get that outcome. Support creators, people!
Final Thoughts
The Dickson Industries SQ1 fills a void that I didn’t know existed in my home. I have a Raspberry Pi 4 that sits in my guest bedroom and it does see moderate usage, enough to justify a cooler like this at least. With it being silent and performing so well, I can leave it there when people visit without having to worry about a whiney fan whirring away all night. Or, if you were into retro gaming and emulation, or you want to run a small media server next to the TV whilst also keeping your Scandi room vibes going then this will certainly not look out of place.
(Photos used with permission and thanks from Dickson Industries)